
In this tutorial, we will learn you how to setup an email account for Windows 10.
- Write “Mail” into the search bar next to the start menu.
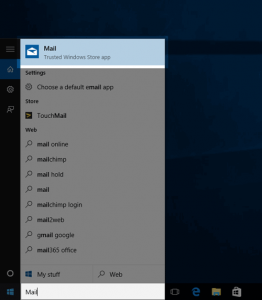
2. Click the “Mail” icon that appears in the search results.
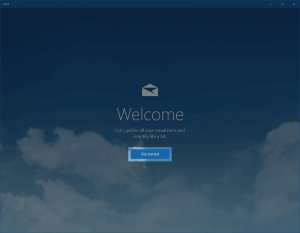
3. Click “Get Started“.
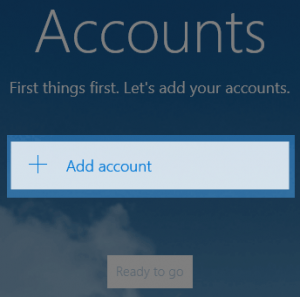
4. Click “Add account“.
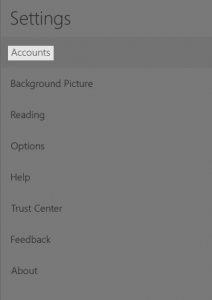
5. Click the Settings icon in the bottom left.
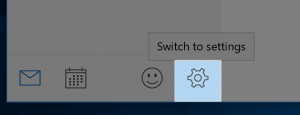
6. On the right side of the mail window, the settings pane will open. Click on “Accounts“.
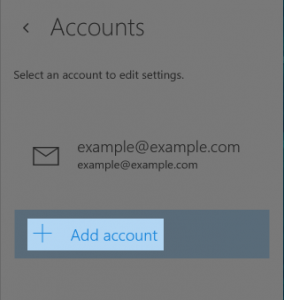
7. Click “add Account“.
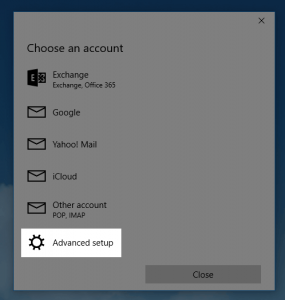
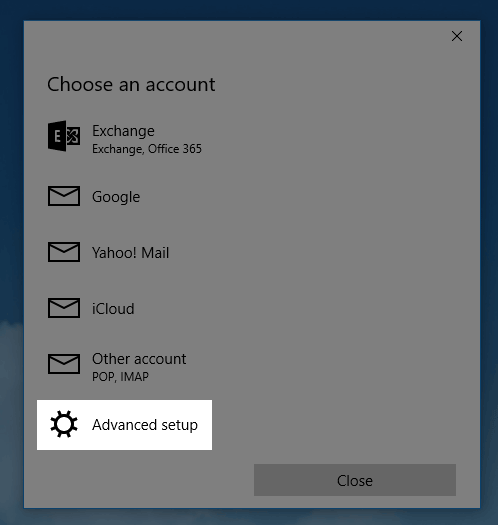
8. On the new account screen, choose Advanced Setup.
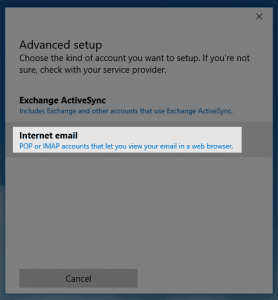
9. Choose Internet email
.
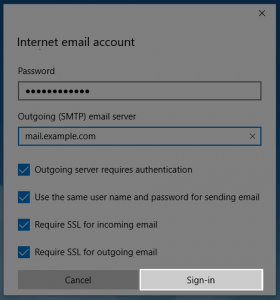
10. On the next screen, enter the following settings:
– Account Name: Anything you would like to name this account.
– Your Name: The name that people will see when you send them an email from this account.
– Incoming Name Server: mail.example.com Note: Replace example.com with your domain.
– Account Type: Choose IMAP4 (recommended) or POP3
– User Name: Enter the email address for the account you are setting up.
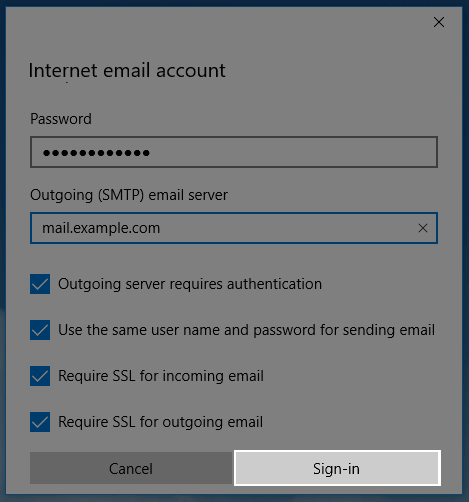
– Password: The password for the email account you are setting up.
– Outgoing: mail.example.com Note: Replace example.com with your domain.
– Leave the checkboxes for “Outgoing server requires authentication”, “Use the same user name and password for sending mail”, “Require SSL for incoming email”, “Require SSL for outgoing email” checked.11. Click the “Sign In” button.
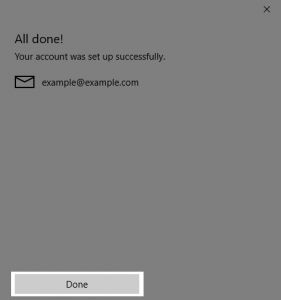
12. On the “Setup Successful” message click the “Done” button.
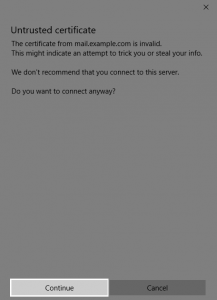
13. If you receive an “Untrusted certificate” message, click the continue button.
That’s it. After those steps your email account should be properly setup.


Urdu Tv Online
I tried this method but nut successful. ,y webmail shows me SMTP ports also. where should I paste these ports